In today's digital age, the iPhone 11 is a prized possession for many. However, accidents happen, and one common issue is the rear camera glass getting cracked or damaged.
Repairing it might seem daunting, but with the right tools and guidance, it can be a straightforward process.
This comprehensive guide will walk you through the steps to effectively repair the rear camera glass on your iPhone 11, ensuring your phone's camera functions like new.
Understanding the Importance of Rear Camera Glass
The rear camera glass on the iPhone 11 is essential for protecting the delicate camera lenses.
A damaged or cracked glass can affect photo quality, letting dust and moisture enter the camera module.
Therefore, timely repair is crucial to maintain the optimal performance of your iPhone's camera.
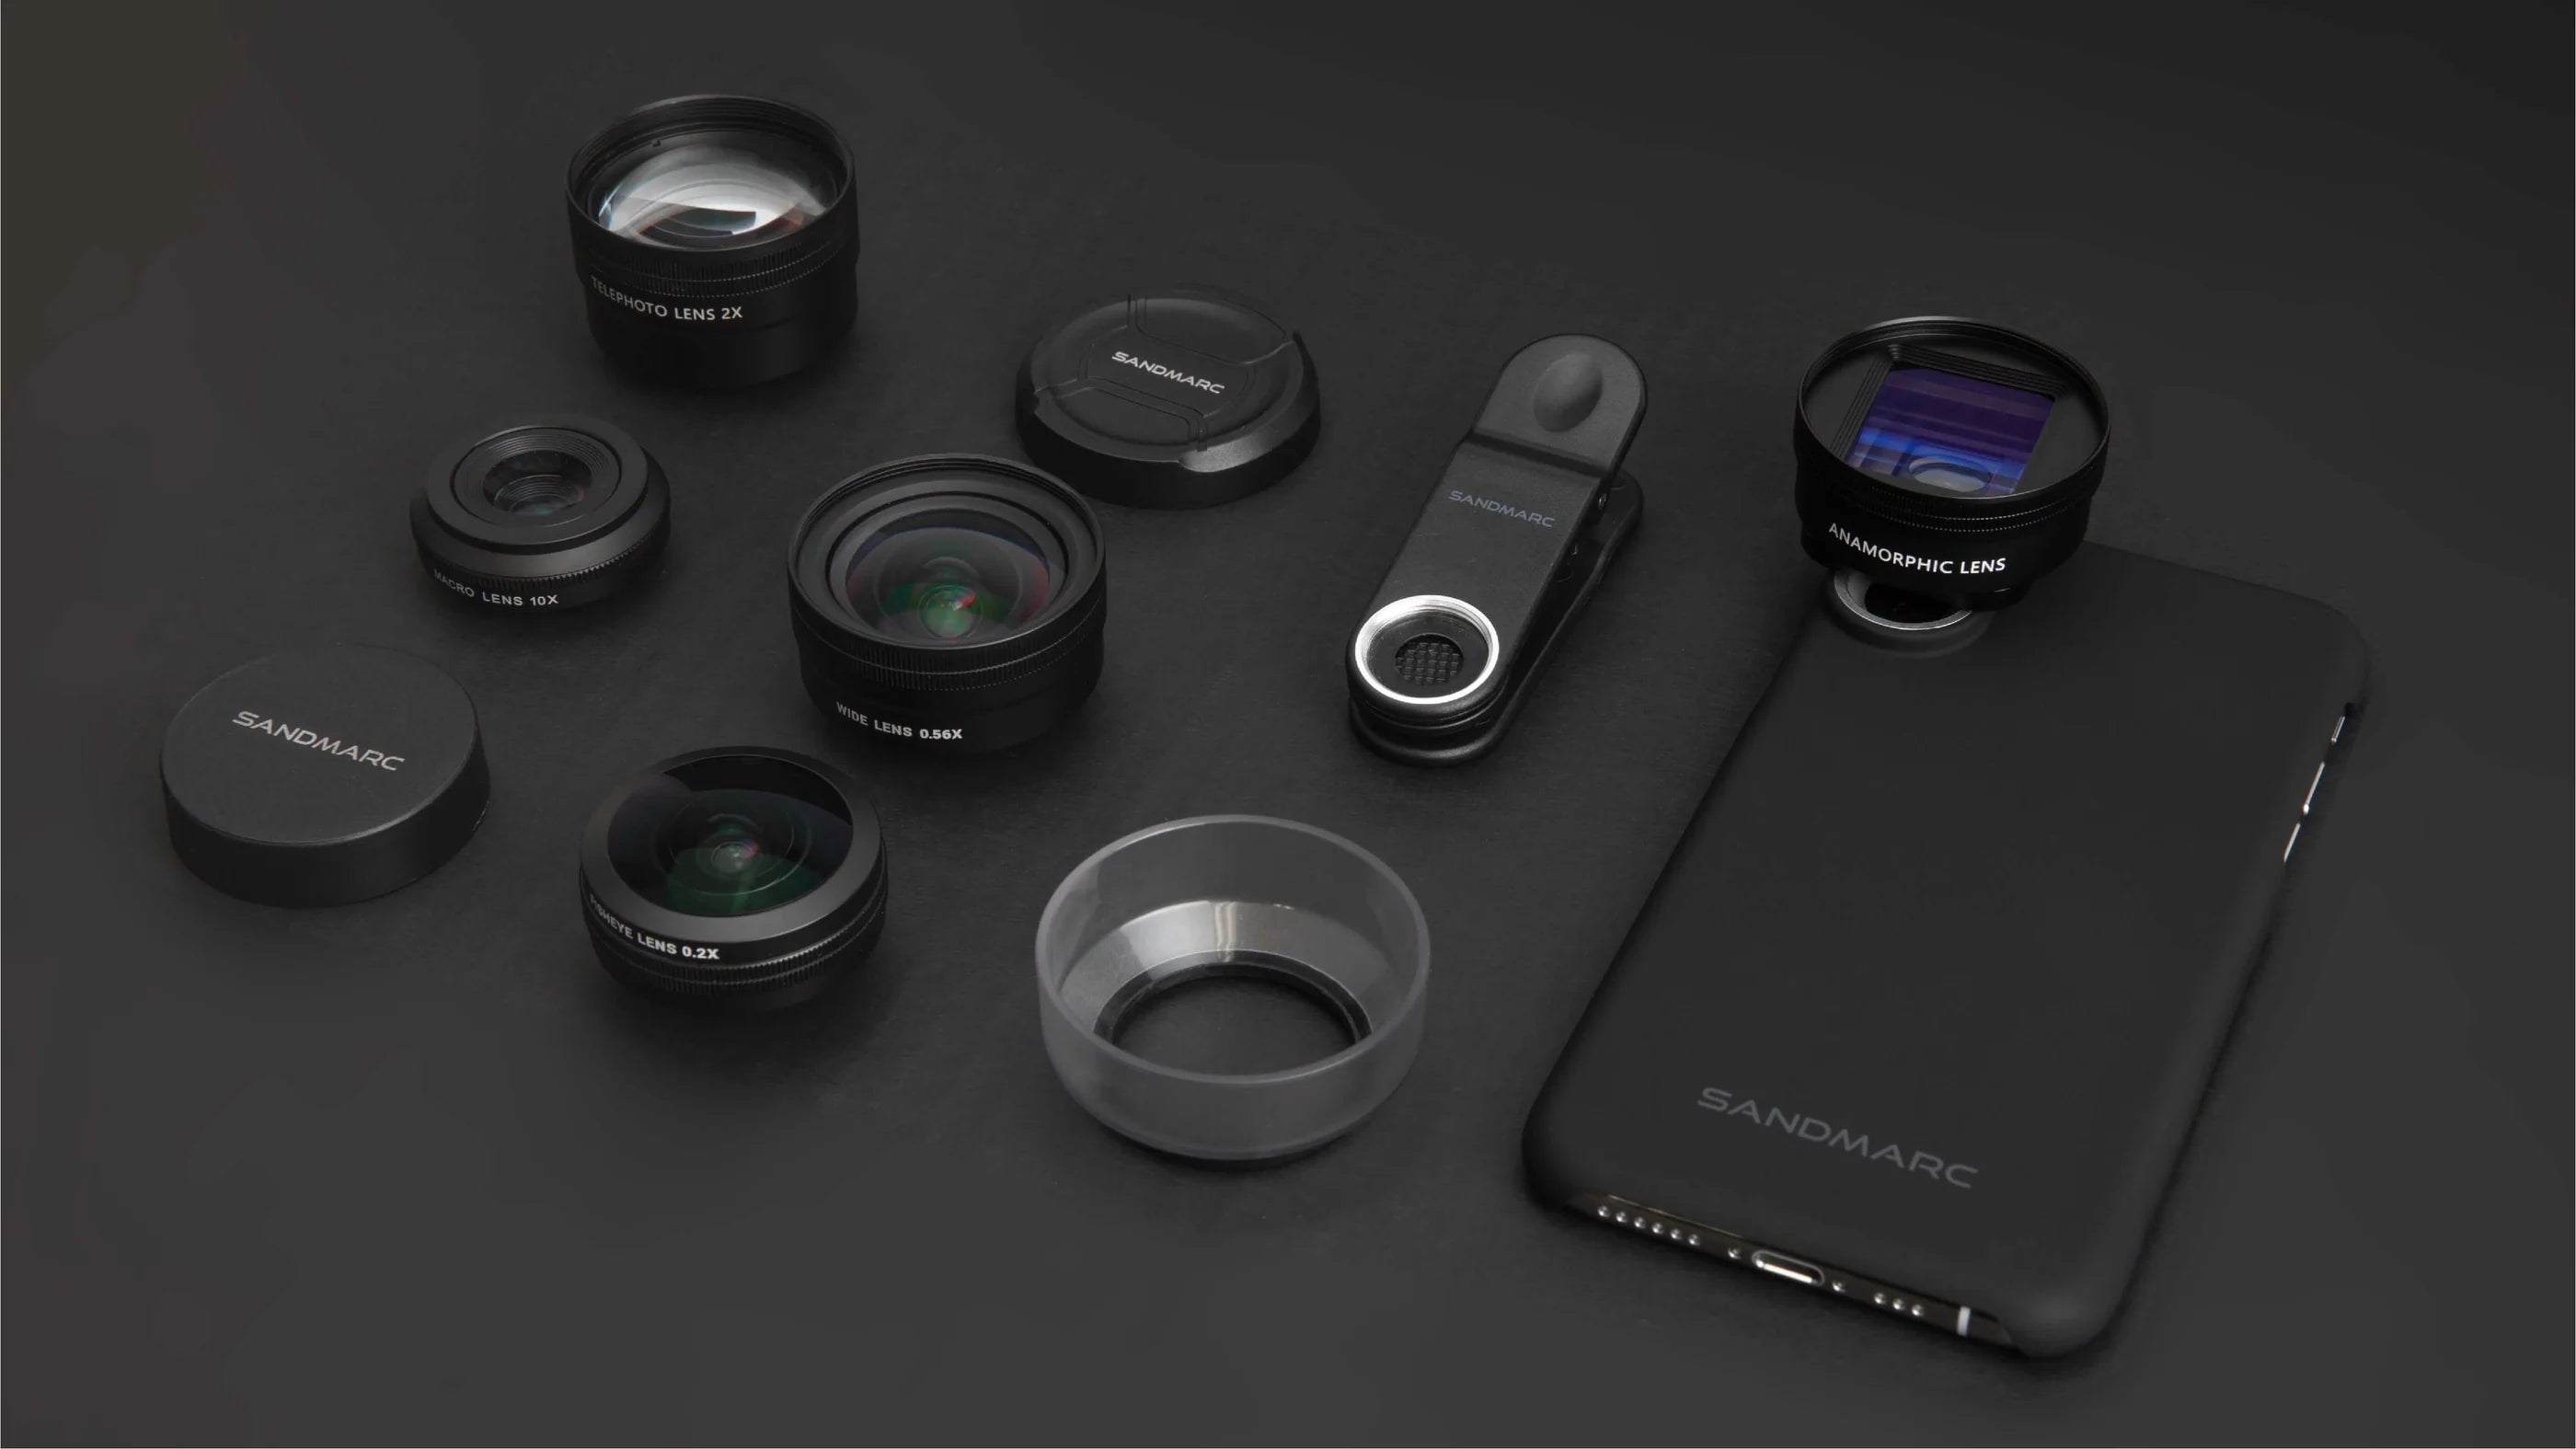
Lens for A Camera for iPhone 11
Tools and Materials Needed
Before you begin the repair process, ensure you have the following tools and materials:
- Replacement Rear Camera Glass: Purchase a high-quality replacement glass to ensure durability.
- Precision Screwdrivers: Essential for removing the screws without damaging the phone.
- Plastic Pry Tools: To safely open the phone casing.
- Tweezers: For handling small components.
- Adhesive Strips: To secure the new camera glass.
- Microfiber Cloth: To clean the camera lens and other components.
- Isopropyl Alcohol: For cleaning purposes.
Step-by-Step Guide to Repair Rear Camera Glass
1. Prepare Your Workspace
Ensure you have a clean, well-lit workspace. Lay down a soft mat or cloth to protect your phone and components from scratches.
2. Power Off Your iPhone 11
Before starting the repair, turn off your iPhone 11 to prevent any electrical damage or short circuits.
3. Remove the Rear Panel
Using the precision screwdrivers, remove the screws located at the bottom of the phone. Carefully use the plastic pry tools to open the rear panel. Gently lift the panel and set it aside.
4. Access the Rear Camera Module
Locate the rear camera module. You may need to remove additional screws and components to gain full access to the camera glass. Use tweezers to handle small parts carefully.
5. Remove the Damaged Camera Glass
Use the plastic pry tool to carefully lift and remove the broken camera glass. Ensure that all shards are removed to avoid scratching the camera lens. Clean the surrounding area with isopropyl alcohol and a microfiber cloth.
6. Install the New Camera Glass
Carefully place the new camera glass over the camera module. Ensure it fits perfectly without any gaps. Use adhesive strips to secure the glass in place. Press down gently to ensure a firm bond.
7. Reassemble the iPhone 11
Once the new camera glass is securely in place, begin reassembling your iPhone 11. Replace all screws and components removed earlier. Ensure everything is tightly secured but be cautious not to overtighten the screws.
8. Test the Camera
After reassembling the phone, power it on and test the camera. Check for clarity and ensure there are no signs of dust or debris under the new glass. Take a few test photos to confirm the repair was successful.
Tips for a Successful Repair
- Take Your Time: Rushing through the repair process can lead to mistakes. Work slowly and carefully.
- Use Quality Parts: Always use high-quality replacement parts to ensure durability and performance.
- Stay Organized: Keep track of screws and components by placing them in small containers or on a magnetic mat.
When to Seek Professional Help
While this guide provides a detailed process for repairing the rear camera glass, there may be instances where seeking professional help is advisable.
If you encounter difficulties or lack confidence in performing the repair, professional technicians can provide reliable and efficient service.

Preventive Measures to Protect Your iPhone 11 Camera
To avoid future damage to your iPhone 11's rear camera glass, consider the following preventive measures:
- Use a Protective Case: A robust case can absorb impacts and protect the camera from direct hits.
- Screen Protectors: Some cases come with built-in screen protectors for added protection.
- Handle with Care: Avoid placing your phone in high-risk areas where it could fall or get damaged.
Repairing the rear camera glass on your iPhone 11 can restore the functionality and aesthetics of your device.
By following this comprehensive DIY guide, you can ensure a successful repair, saving both time and money.
Always prioritize using high-quality replacement parts and take necessary precautions to protect your phone in the future.
How to Replace iPhone 11 Rear Camera Lens
Replacing the rear camera lens of your iPhone 11 can be a daunting task, but with the right tools and a step-by-step guide, it becomes manageable.
In this comprehensive guide, we will walk you through the process of replacing your iPhone 11 rear camera lens, ensuring that you can restore the quality of your photos and videos.
Why Replace Your iPhone 11 Rear Camera Lens?
The rear camera lens on your iPhone 11 is a crucial component that protects the camera's internals while allowing you to capture sharp and clear images.
However, accidents happen, and the lens can get scratched, cracked, or completely shattered.
A damaged lens can significantly degrade the quality of your photos and videos, making it essential to replace it.
Tools and Materials Needed
Before starting the replacement process, gather the necessary tools and materials to ensure a smooth and successful repair. Here’s a list of what you will need:
- Replacement iPhone 11 rear camera lens: Ensure it is compatible with your device.
- Small Phillips screwdriver: To remove and reassemble screws.
- Pentalobe screwdriver: Specifically for iPhone screws.
- Plastic opening tools: To safely pry open the device.
- Tweezers: For handling small components.
- Adhesive strips or glue: To secure the new lens.
- Heat gun or hairdryer: To soften the adhesive.
- Isopropyl alcohol and microfiber cloth: For cleaning purposes.
- Protective gloves and eye protection: Safety first!
Step-by-Step Guide to Replacing the Rear Camera Lens
1. Power Off and Prepare Your iPhone 11
Safety first: Begin by powering off your iPhone 11. This prevents any accidental short circuits or other electrical issues during the repair.
2. Remove the Back Cover
To access the rear camera lens, you need to remove the back cover of your iPhone 11. Follow these steps:
- Remove the screws: Use the pentalobe screwdriver to remove the screws at the bottom of the device.
- Apply heat: Use a heat gun or hairdryer to soften the adhesive around the edges of the back cover.
- Pry open the back cover: Carefully insert the plastic opening tool between the device's frame and the back cover. Gently pry open the cover, working your way around the edges until it separates from the frame.
3. Disconnect the Battery
Once the back cover is removed, locate the battery connector. Use the small Phillips screwdriver to remove the screws securing the battery connector shield.
Then, use the plastic opening tool to gently disconnect the battery connector.
4. Remove the Damaged Camera Lens
With the battery disconnected, you can now access the damaged camera lens:
- Clean the area: Use isopropyl alcohol and a microfiber cloth to clean the area around the damaged lens.
- Remove the adhesive: Use tweezers to carefully remove any remaining adhesive or debris around the lens.
- Remove the lens: Use the plastic opening tool to gently pry out the damaged camera lens. Be careful not to damage the surrounding components.
5. Install the New Camera Lens
Now it’s time to install the new camera lens:
- Prepare the new lens: Clean the new lens with a microfiber cloth to remove any fingerprints or dust.
- Apply adhesive: Apply a thin layer of adhesive or use adhesive strips around the edges of the lens opening.
- Place the new lens: Carefully align the new camera lens with the opening and press it firmly into place. Ensure it is securely attached and level with the device’s surface.
6. Reassemble Your iPhone 11
With the new camera lens installed, it’s time to reassemble your iPhone 11:
- Reconnect the battery: Carefully reconnect the battery connector and secure it with the screws.
- Reattach the back cover: Align the back cover with the device’s frame and press it firmly into place. Use the heat gun or hairdryer to re-soften the adhesive if necessary. Finally, reinsert and tighten the screws at the bottom of the device.
7. Test Your iPhone 11
Before concluding the repair, it’s crucial to test your iPhone 11 to ensure everything is functioning correctly:
- Power on the device: Turn on your iPhone 11 and check that it boots up without any issues.
- Test the camera: Open the camera app and take a few photos and videos to verify that the new lens is properly aligned and functioning. Check for any signs of dust or misalignment.
Troubleshooting and Tips
Ensure a Dust-Free Environment: During the repair process, work in a clean, dust-free environment to prevent any particles from getting inside the device.
Handle with Care: Be gentle when handling small components and use the appropriate tools to avoid damage.
Double-Check Connections: Ensure all connectors are securely reattached before closing the device to prevent any functionality issues.
Seek Professional Help if Needed: If you are unsure about any step or encounter difficulties, consider seeking help from a professional technician to avoid further damage.
Replacing the rear camera lens of your iPhone 11 can restore the clarity and quality of your photos and videos.
By following this detailed guide, you can successfully perform the repair and extend the life of your device.
Remember to take your time, handle components with care, and ensure everything is properly reassembled.
The iPhone 11 is known for its impressive camera capabilities, but accidents happen, and a damaged camera lens can severely impact the quality of your photos.
Understanding the cost of replacing an iPhone 11 camera lens is crucial for budgeting and deciding whether to proceed with a repair or upgrade your device.
This article breaks down the factors affecting the cost and provides a detailed overview to help you make an informed decision.
Factors Influencing the Cost of Camera Lens Replacement
Several factors can influence the total cost of replacing the iPhone 11 camera lens. These include:
- Type of Damage: The extent of damage to the camera lens can significantly affect the cost. Minor cracks might be cheaper to repair than extensive damage involving multiple components.
- Parts and Labor: The cost of replacement parts and labor charges vary. OEM (Original Equipment Manufacturer) parts tend to be more expensive than third-party alternatives.
- Service Provider: The choice between Apple-authorized service centers, third-party repair shops, or DIY repairs can lead to varying costs.
- Warranty and AppleCare+: If your iPhone is under warranty or covered by AppleCare+, the repair cost may be reduced or even free.
Cost Breakdown by Service Provider
Apple Store and Authorized Service Providers
If you choose to have your iPhone 11 camera lens replaced at an Apple Store or an Apple Authorized Service Provider, expect to pay a premium for the service. The cost typically includes:
- Replacement Parts: Using genuine Apple parts ensures compatibility and quality.
- Labor Charges: Skilled technicians carry out the repair, ensuring it meets Apple’s standards.
For an iPhone 11 not covered by warranty or AppleCare+, the cost can range from $150 to $200. If covered by AppleCare+, you might only pay a service fee of $99.
Third-Party Repair Shops
Opting for a third-party repair shop can be a more cost-effective option. These shops often offer competitive pricing and quicker turnaround times.
The cost for replacing the iPhone 11 camera lens at a third-party repair shop usually ranges from $80 to $150. It’s important to ensure the shop uses high-quality parts and has experienced technicians.
DIY Repair
For the technically inclined, a DIY repair is the most affordable option. By purchasing a replacement camera lens and necessary tools, you can save on labor costs.
The average cost of DIY repair kits ranges from $20 to $50. However, this approach carries risks, including potential damage to other components and voiding any remaining warranty.
Comparing Costs: Apple vs. Third-Party vs. DIY
| Service Provider | Cost Range | Pros | Cons |
|---|---|---|---|
| Apple Store/Authorized | $150 - $200 | Genuine parts, skilled technicians, warranty intact | Higher cost, longer repair time |
| Third-Party Repair Shops | $80 - $150 | Lower cost, faster service | Potential quality variance, may void warranty |
| DIY Repair | $20 - $50 | Lowest cost, self-satisfaction | Risk of further damage, warranty void |
Additional Considerations
Quality of Replacement Parts
The quality of replacement parts is crucial for ensuring the longevity and performance of your iPhone 11 camera.
Genuine Apple parts are the gold standard, but high-quality third-party parts can also provide satisfactory results.
Always inquire about the origin and quality of the parts used by third-party repair shops.
Warranty and AppleCare+
Before opting for a third-party or DIY repair, consider your iPhone’s warranty status.
Repairs done outside of Apple’s authorized service providers may void any existing warranty or AppleCare+ coverage.
If your device is still under warranty, utilizing Apple’s repair services might be the most cost-effective long-term solution.
Skill Level for DIY Repairs
DIY repairs require a certain level of technical skill and patience. If you are not confident in your ability to perform the repair, it is advisable to seek professional help. Improper handling can lead to further damage and higher repair costs.
iPhone 14 Pro Max Price in UK 256GB
Conclusion
The cost to replace an iPhone 11 camera lens varies widely based on the service provider, the extent of the damage, and whether the device is under warranty.
While Apple’s repair services offer high quality and peace of mind, third-party repair shops provide a more budget-friendly alternative.
For those confident in their technical abilities, a DIY repair is the most economical option. Assess your needs, budget, and skill level to choose the best repair method for your situation.
Share:
iPhone 11 Lens For a Camera | Buy Here with E-Tech61
Pixel 8 Pro Improve Battery Life | Extend Your Pixel 8 Pro Battery Life